Tutorial: Creating a Discord Bot to Fetch Price Data
In this tutorial, we will walk you through the process of creating a Discord bot using the discord.js library. The bot will fetch price data using the dextrades API and respond to a specific command in a Discord server.
Prerequisites
Before we begin, make sure you have the following:
- Node.js installed on your machine
- A Discord account
- A Bitquery API Token (you can sign up for a free API token at Bitquery)
Setting up the Bot
Before we began coding, you need to create a bot on https://discord.com/developers/applications .
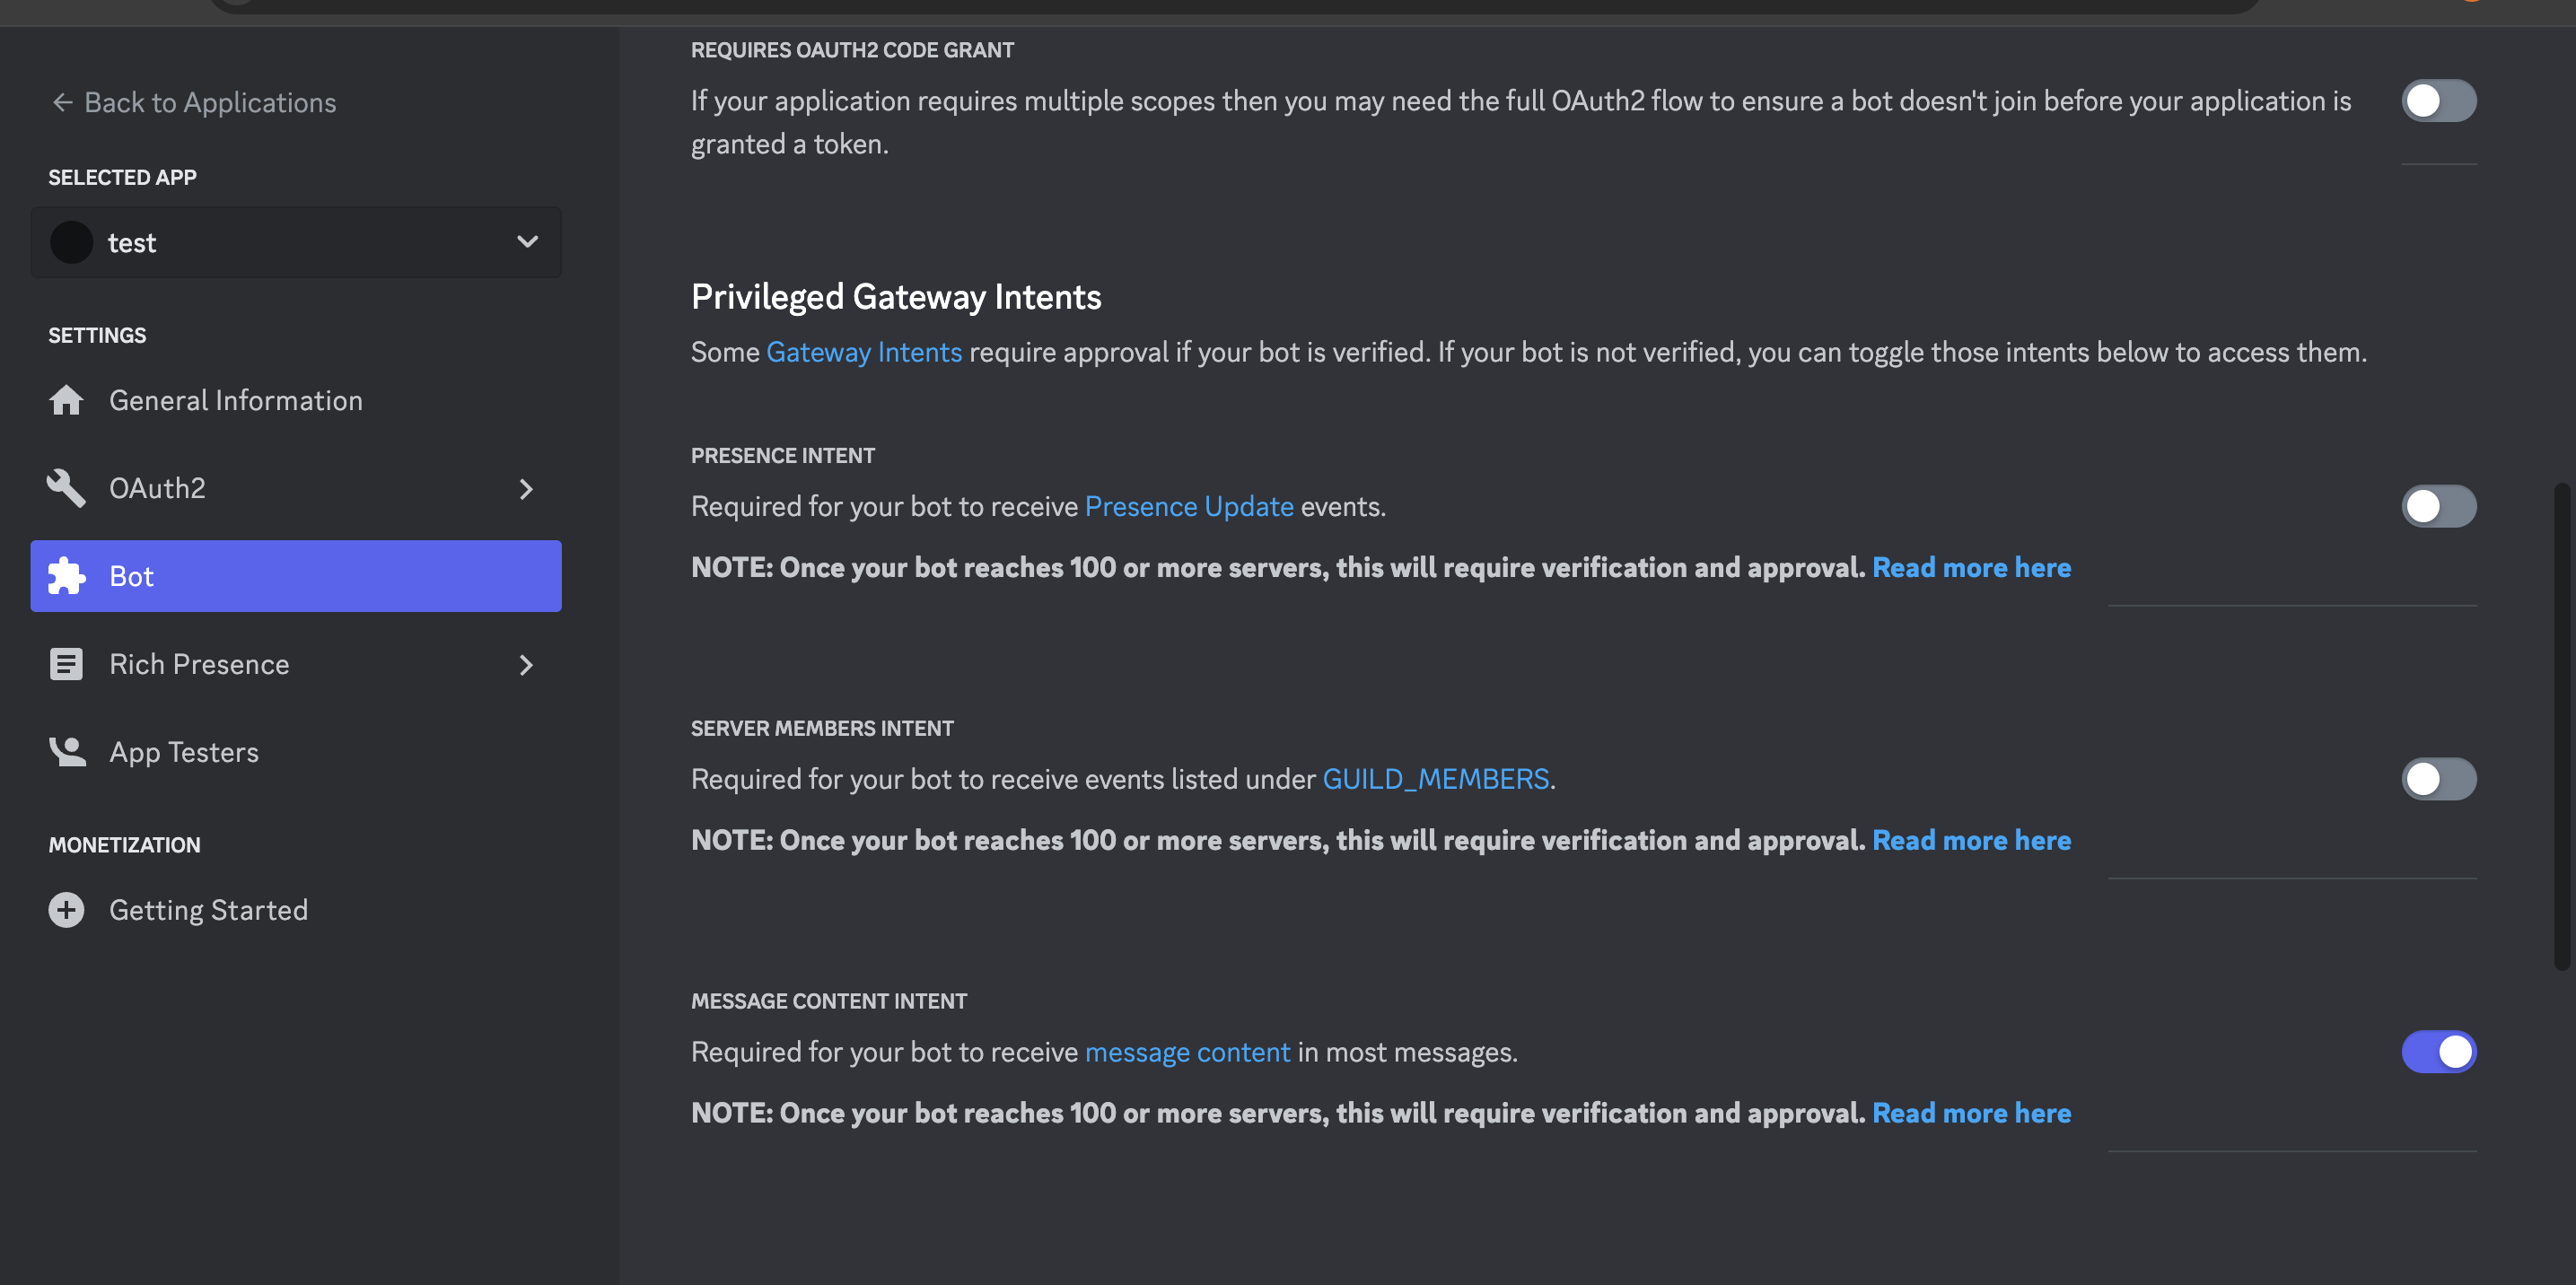
- Once your application is created, navigate to the Bot tab and set the MESSAGE CONTENT INTENT. This permission is necessary for the bot to read and send messages.
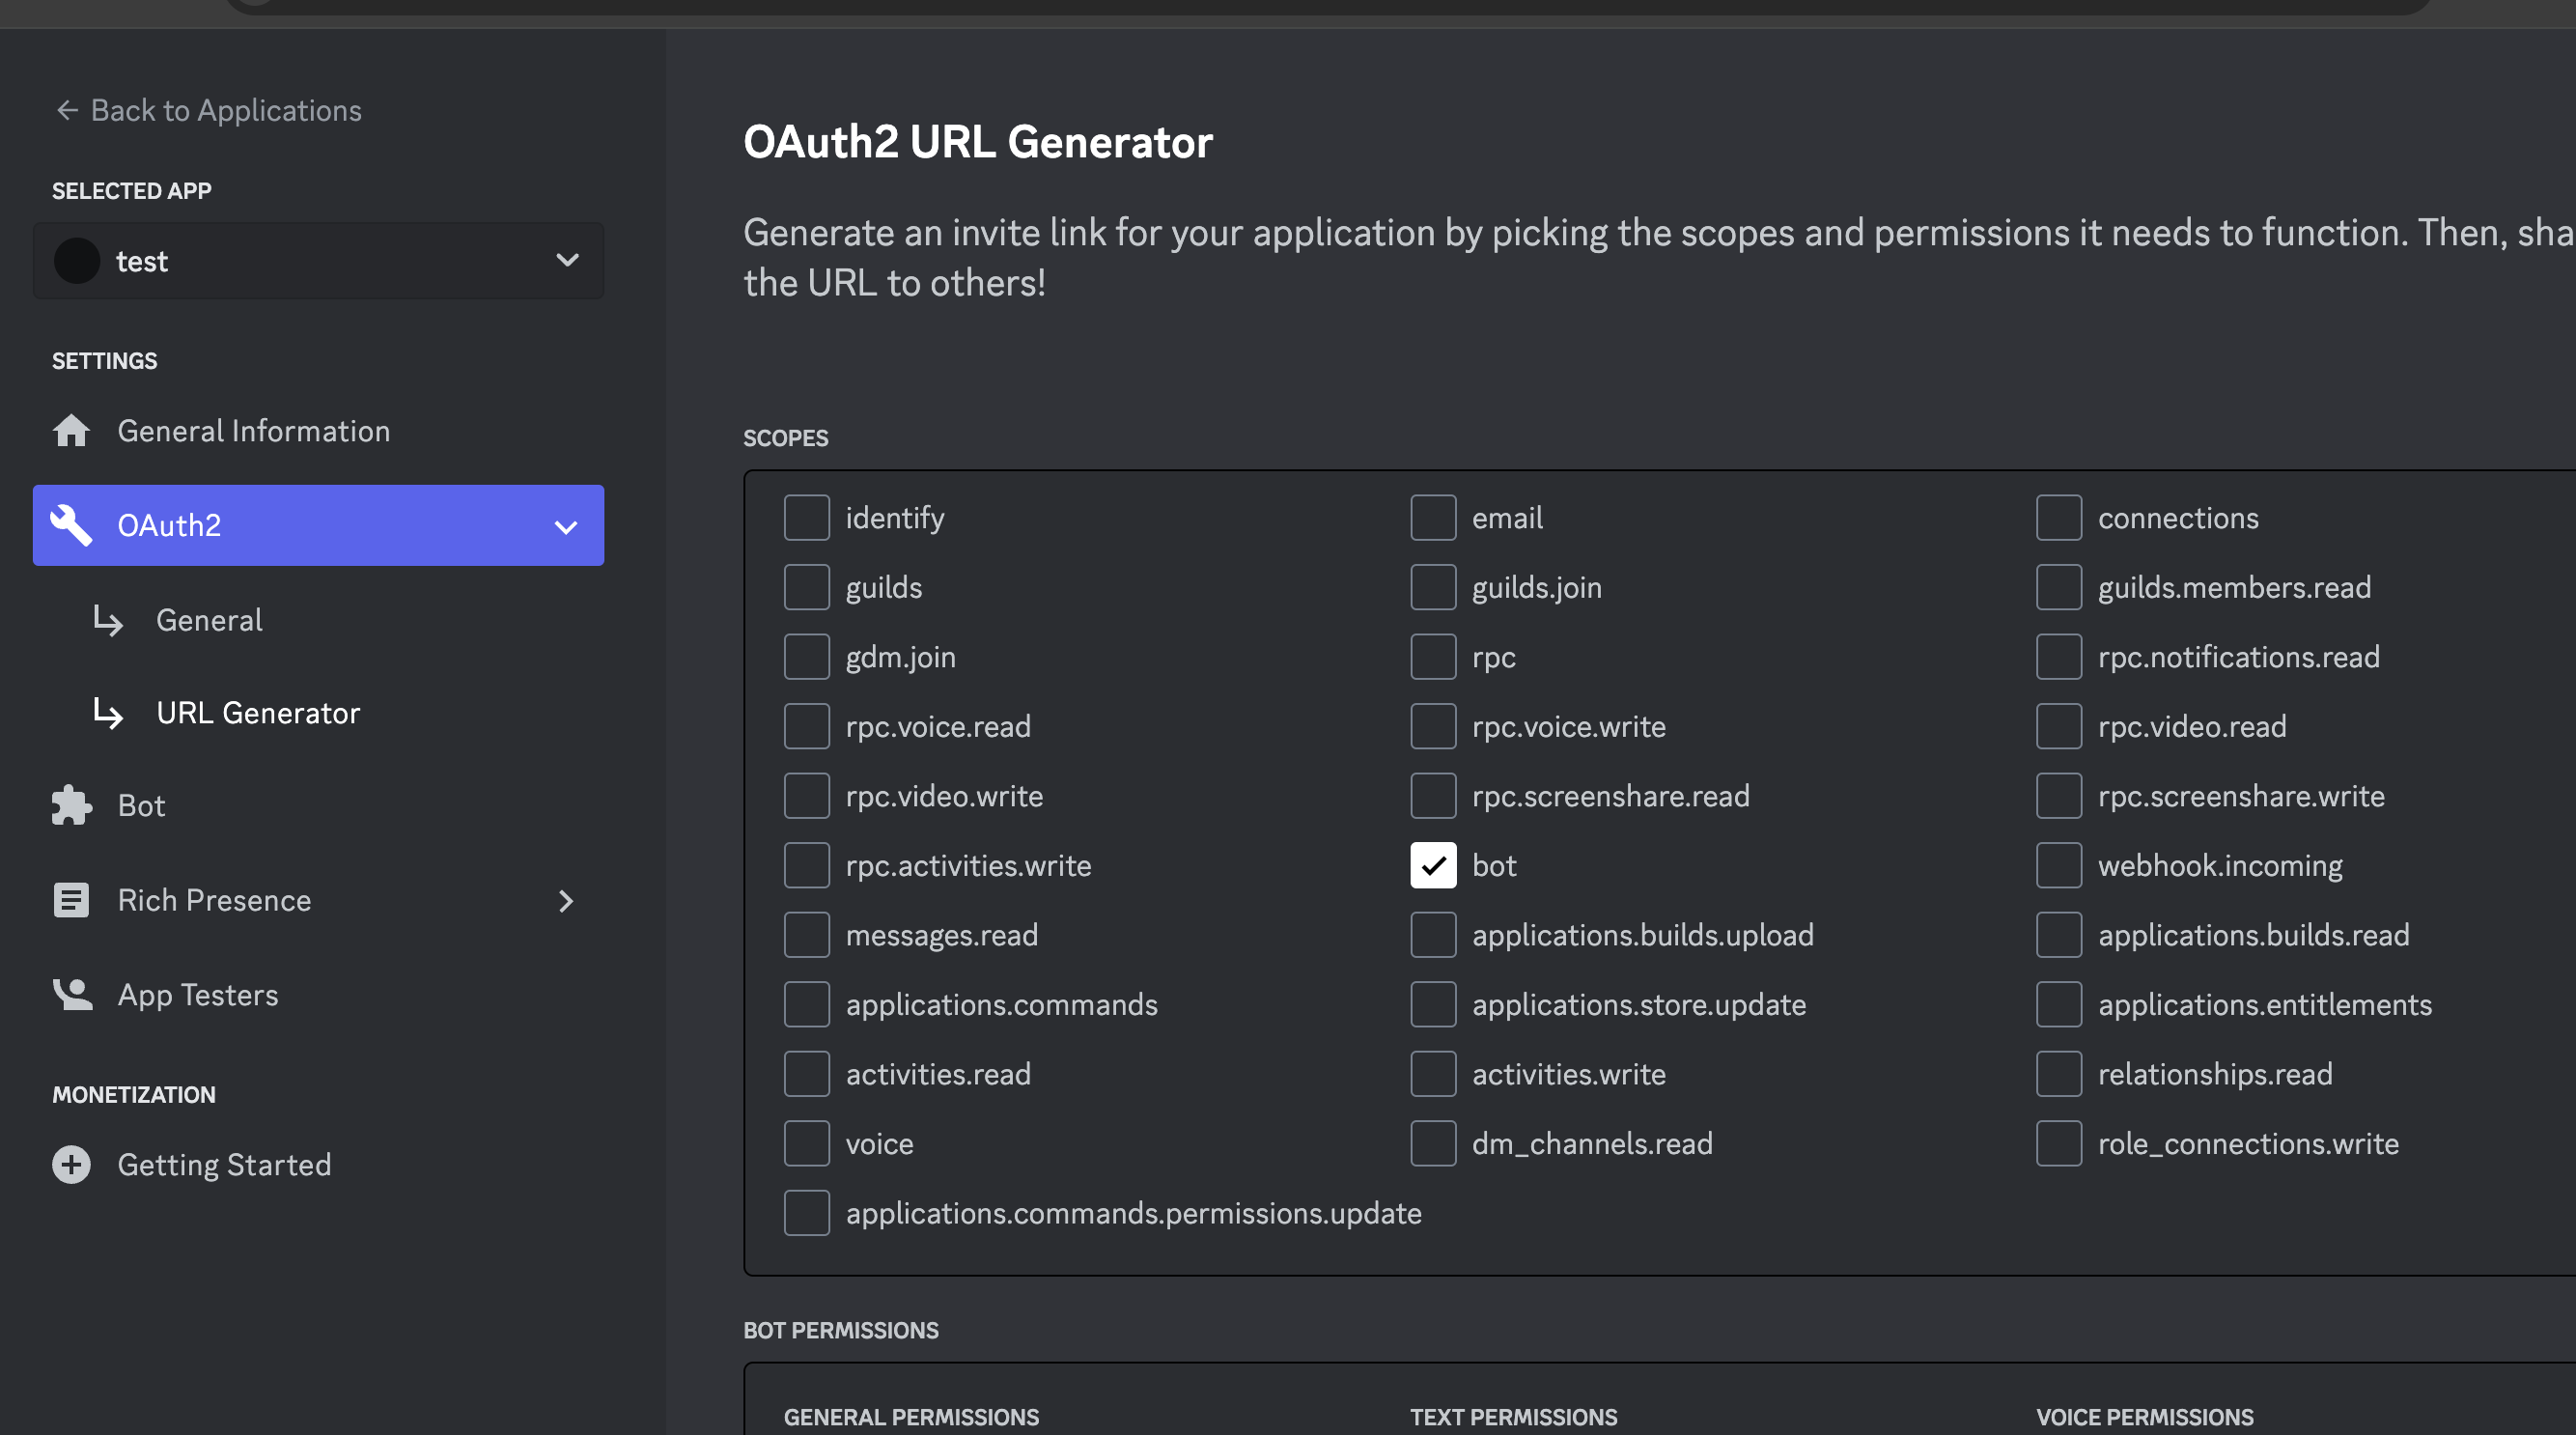
- Next, navigate to the URL generator and set scope as
botas shown in the image below
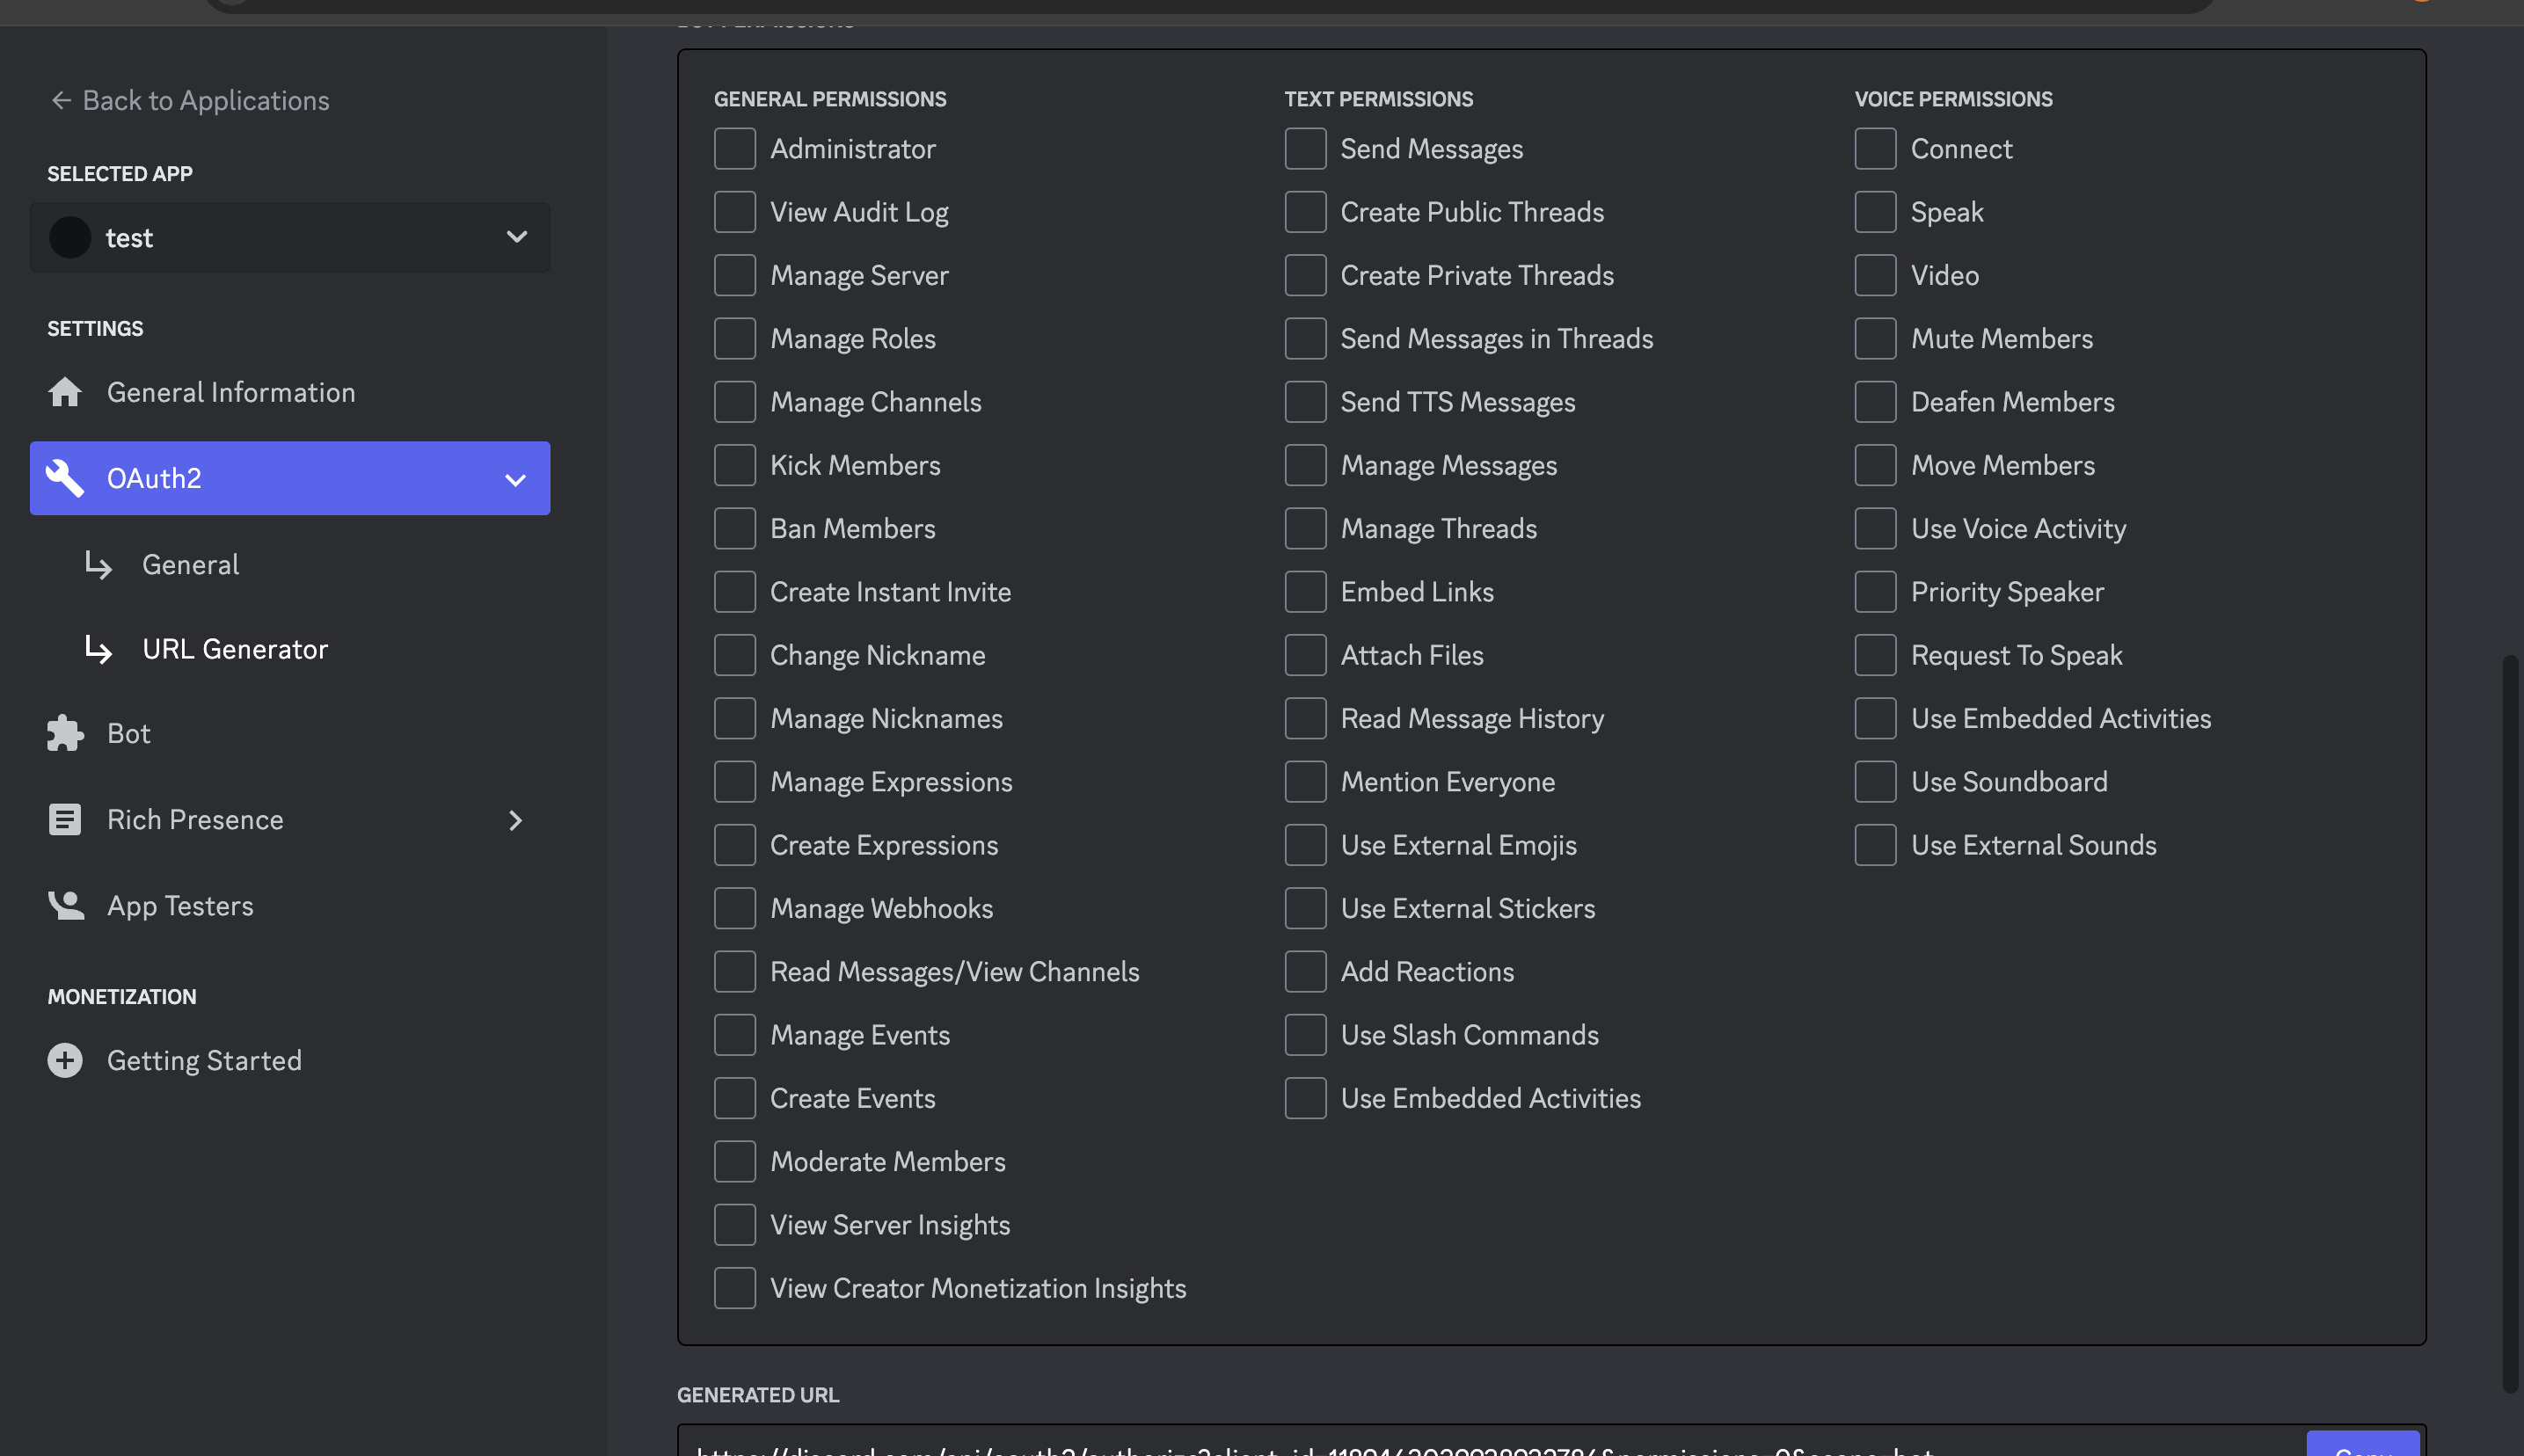
- Finally, set the permissions you want the bot to have and copy the URL generated. Go to the URL and add the bot to the channel of your choice.
You are now ready to write the code.
Step 1: Setting Up the Project
- Create a new directory for your project and navigate to it in your terminal.
- Initialize a new Node.js project by running the command
npm initand following the prompts. - Install the required dependencies by running the command
npm install discord.js axios dotenv. - Create a new file named
index.jsand open it in your preferred code editor.
Step 2: Importing Dependencies
At the top of your index.js file, import the necessary dependencies:
const { Client, GatewayIntentBits } = require("discord.js");
const axios = require("axios");
require("dotenv").config();
- The
discord.jspackage provides a convenient interface for interacting with the Discord API. - The
axiospackage is used to make HTTP requests to the Bitquery API. - The
dotenvpackage allows us to load environment variables from a.envfile.
Step 3: Configuring the Discord bot
Next, configure the Discord bot by creating a new instance of the Client class:
const client = new Client({
  intents: [
    GatewayIntentBits.Guilds,
    GatewayIntentBits.GuildMessages,
    GatewayIntentBits.MessageContent,
  ],
});
- The
intentsproperty specifies which events the bot will listen to. In this case, we are listening for guild and message related events.
Step 4: Adding Bot Token and API OAuth Token
Retrieve your Discord bot token and Bitquery OAuth token. Replace the placeholders in the following code with your actual tokens:
const CLIENT_TOKEN = "<YOUR_DISCORD_BOT_TOKEN>";
Step 5: Handling Bot Events
Add the necessary event listeners to handle bot events:
client.on("debug", console.log);

client.on("ready", () => {
  console.log(`Logged in as ${client.user.tag}!`);
});

client.on("messageCreate", async (message) => {
  console.log("message", message.content);

  // Add your command logic here
});
- The
"debug"event will log debug information to the console. - The
"ready"event is triggered when the bot successfully logs in and is ready to receive commands. - The
"messageCreate"event is triggered whenever a new message is sent in a guild. We will add our command logic here.
Step 6: Fetching Price Data
Inside the "messageCreate" event listener, add the code to fetch price data using the Bitquery API:
if (message.content === "price") {
  try {
    let data = JSON.stringify({
      query:
          '{\n  EVM(dataset: combined, network: eth) {\n    buyside: DEXTrades(\n      limit: {count: 1}\n      orderBy: {descending: Block_Time}\n      where: {Trade: {Buy: {Currency: {SmartContract: {is: "0x5283d291dbcf85356a21ba090e6db59121208b44"}}}}}\n    ) {\n      Block {\n        Number\n        Time\n      }\n      Transaction {\n        From\n        To\n        Hash\n      }\n      Trade {\n        Buy {\n          Amount\n          Buyer\n          Currency {\n            Name\n            Symbol\n            SmartContract\n          }\n          Seller\n          Price\n        }\n        Sell {\n          Amount\n          Buyer\n          Currency {\n            Name\n            SmartContract\n            Symbol\n          }\n          Seller\n          Price\n        }\n      }\n    }\n  }\n}\n',
        variables: "{}",
    });

    let config = {
      method: "post",
      maxBodyLength: Infinity,
      url: "https://streaming.bitquery.io/graphql",
      headers: {
        "Content-Type": "application/json",
        "X-API-KEY": API_KEY,
        Authorization: "Bearer YOUR_BEARER_TOKEN",
      },
      data: data,
    };

    axios
      .request(config)
      .then((response) => {
        const priceData = JSON.stringify(response.data.data.EVM.buyside[0]);
        const priceMessage = `Latest Price: ` + priceData;

        message.channel.send(priceMessage);
      })
      .catch((error) => {
        console.log(error);
      });
  } catch (error) {
    console.error("Error fetching price:", error);
    message.channel.send("Error fetching price.");
  }
}
- Replace
'YOUR_GRAPHQL_QUERY'with your actual GraphQL query. This query is used to fetch the latest price data. - Replace
'YOUR_BEARER_TOKEN'with your actual Bearer token from Bitquery.
Step 7: Logging in the Bot
Finally, add the code to log in the bot using the Discord bot token:
client.login(CLIENT_TOKEN);
Step 8: Running the Bot
Save the changes to your index.js file and run the command node index.js in your terminal to start the bot.
Testing the Bot
Type the message price in your chat. You will see the latest trade information on the chat.