Using Bitquery Subscriptions to Load On-chain Data into S3
In this tutorial we will use Bitquery Subscription queries to fetch latest Pumpfun information on Solana upload it to an S3 Bucket.
1. Prerequisites
Before diving into the tutorial, ensure you have:
- AWS Account: With access to an S3 bucket and all permissions configured for Write Access.
- Bitquery Account: For generating a token to access the Streaming APIs. Follow this link for token generation.
- Python Environment: With required libraries installed.
Install required libraries if not already done:
pip install asyncio websockets boto3
2. Setting Up AWS S3 Configuration
The code initializes the AWS S3 client to upload JSON data:
import boto3

# AWS S3 configuration
s3_client = boto3.client(
    's3',
    aws_access_key_id='your_aws_access_key',
    aws_secret_access_key='your_aws_secret_key',
    region_name='your_aws_region'
)
bucket_name = 'your_s3_bucket_name'
- Replace
your_aws_access_key,your_aws_secret_key,your_aws_region, andyour_s3_bucket_namewith your AWS credentials and bucket name.
3. Setting Up the WebSocket Connection
The WebSocket connection is established with the Bitquery API:
import asyncio
import json
import websockets

# Bitquery WebSocket API details
url = "wss://streaming.bitquery.io/eap?token=your_bitquery_token"
- Replace
your_bitquery_tokenwith the token generated from Bitquery (guide).
4. Writing the Subscription Query
The subscription query gets real-time Pumpfun DEX trades :
query = """
subscription MyQuery {
  Solana {
    DEXTrades(
      where: {
        Trade: { Dex: { ProtocolName: { is: "pump" } } }
        Transaction: { Result: { Success: true } }
      }
    ) {
      Trade {
        Dex {
          ProtocolFamily
          ProtocolName
        }
        Buy {
          Amount
          Account {
            Address
          }
        }
        Sell {
          Amount
          Account {
            Address
          }
        }
      }
      Transaction {
        Signature
      }
    }
  }
}
"""
You can find more queries here: Solana Pump Fun API.
5. Fetching and Uploading Data
The fetch_and_upload function manages the WebSocket connection, listens for messages, and uploads them to S3.
a. Initialize Connection
await websocket.send(json.dumps({"type": "connection_init"}))
The WebSocket connection is initialized by sending a connection_init message. It waits for an acknowledgment (connection_ack).
b. Send Subscription Query
await websocket.send(json.dumps({"type": "start", "id": "1", "payload": {"query": query}}))
After acknowledgment, the subscription query is sent.
c. Listen for Messages
while True:
    response = await websocket.recv()
    data = json.loads(response)

    if data.get("type") == "data" and "payload" in data:
        trades = data['payload']['data'].get('Solana', {}).get('DEXTrades', [])
The WebSocket listens continuously for messages and processes subscription data.
d. Upload Data to S3
def upload_to_s3(data):
    s3_key = f"data/{data['transaction_signature']}.json"
    s3_client.put_object(Body=json.dumps(data), Bucket=bucket_name, Key=s3_key)
    print(f"Uploaded message to S3: {s3_key}")
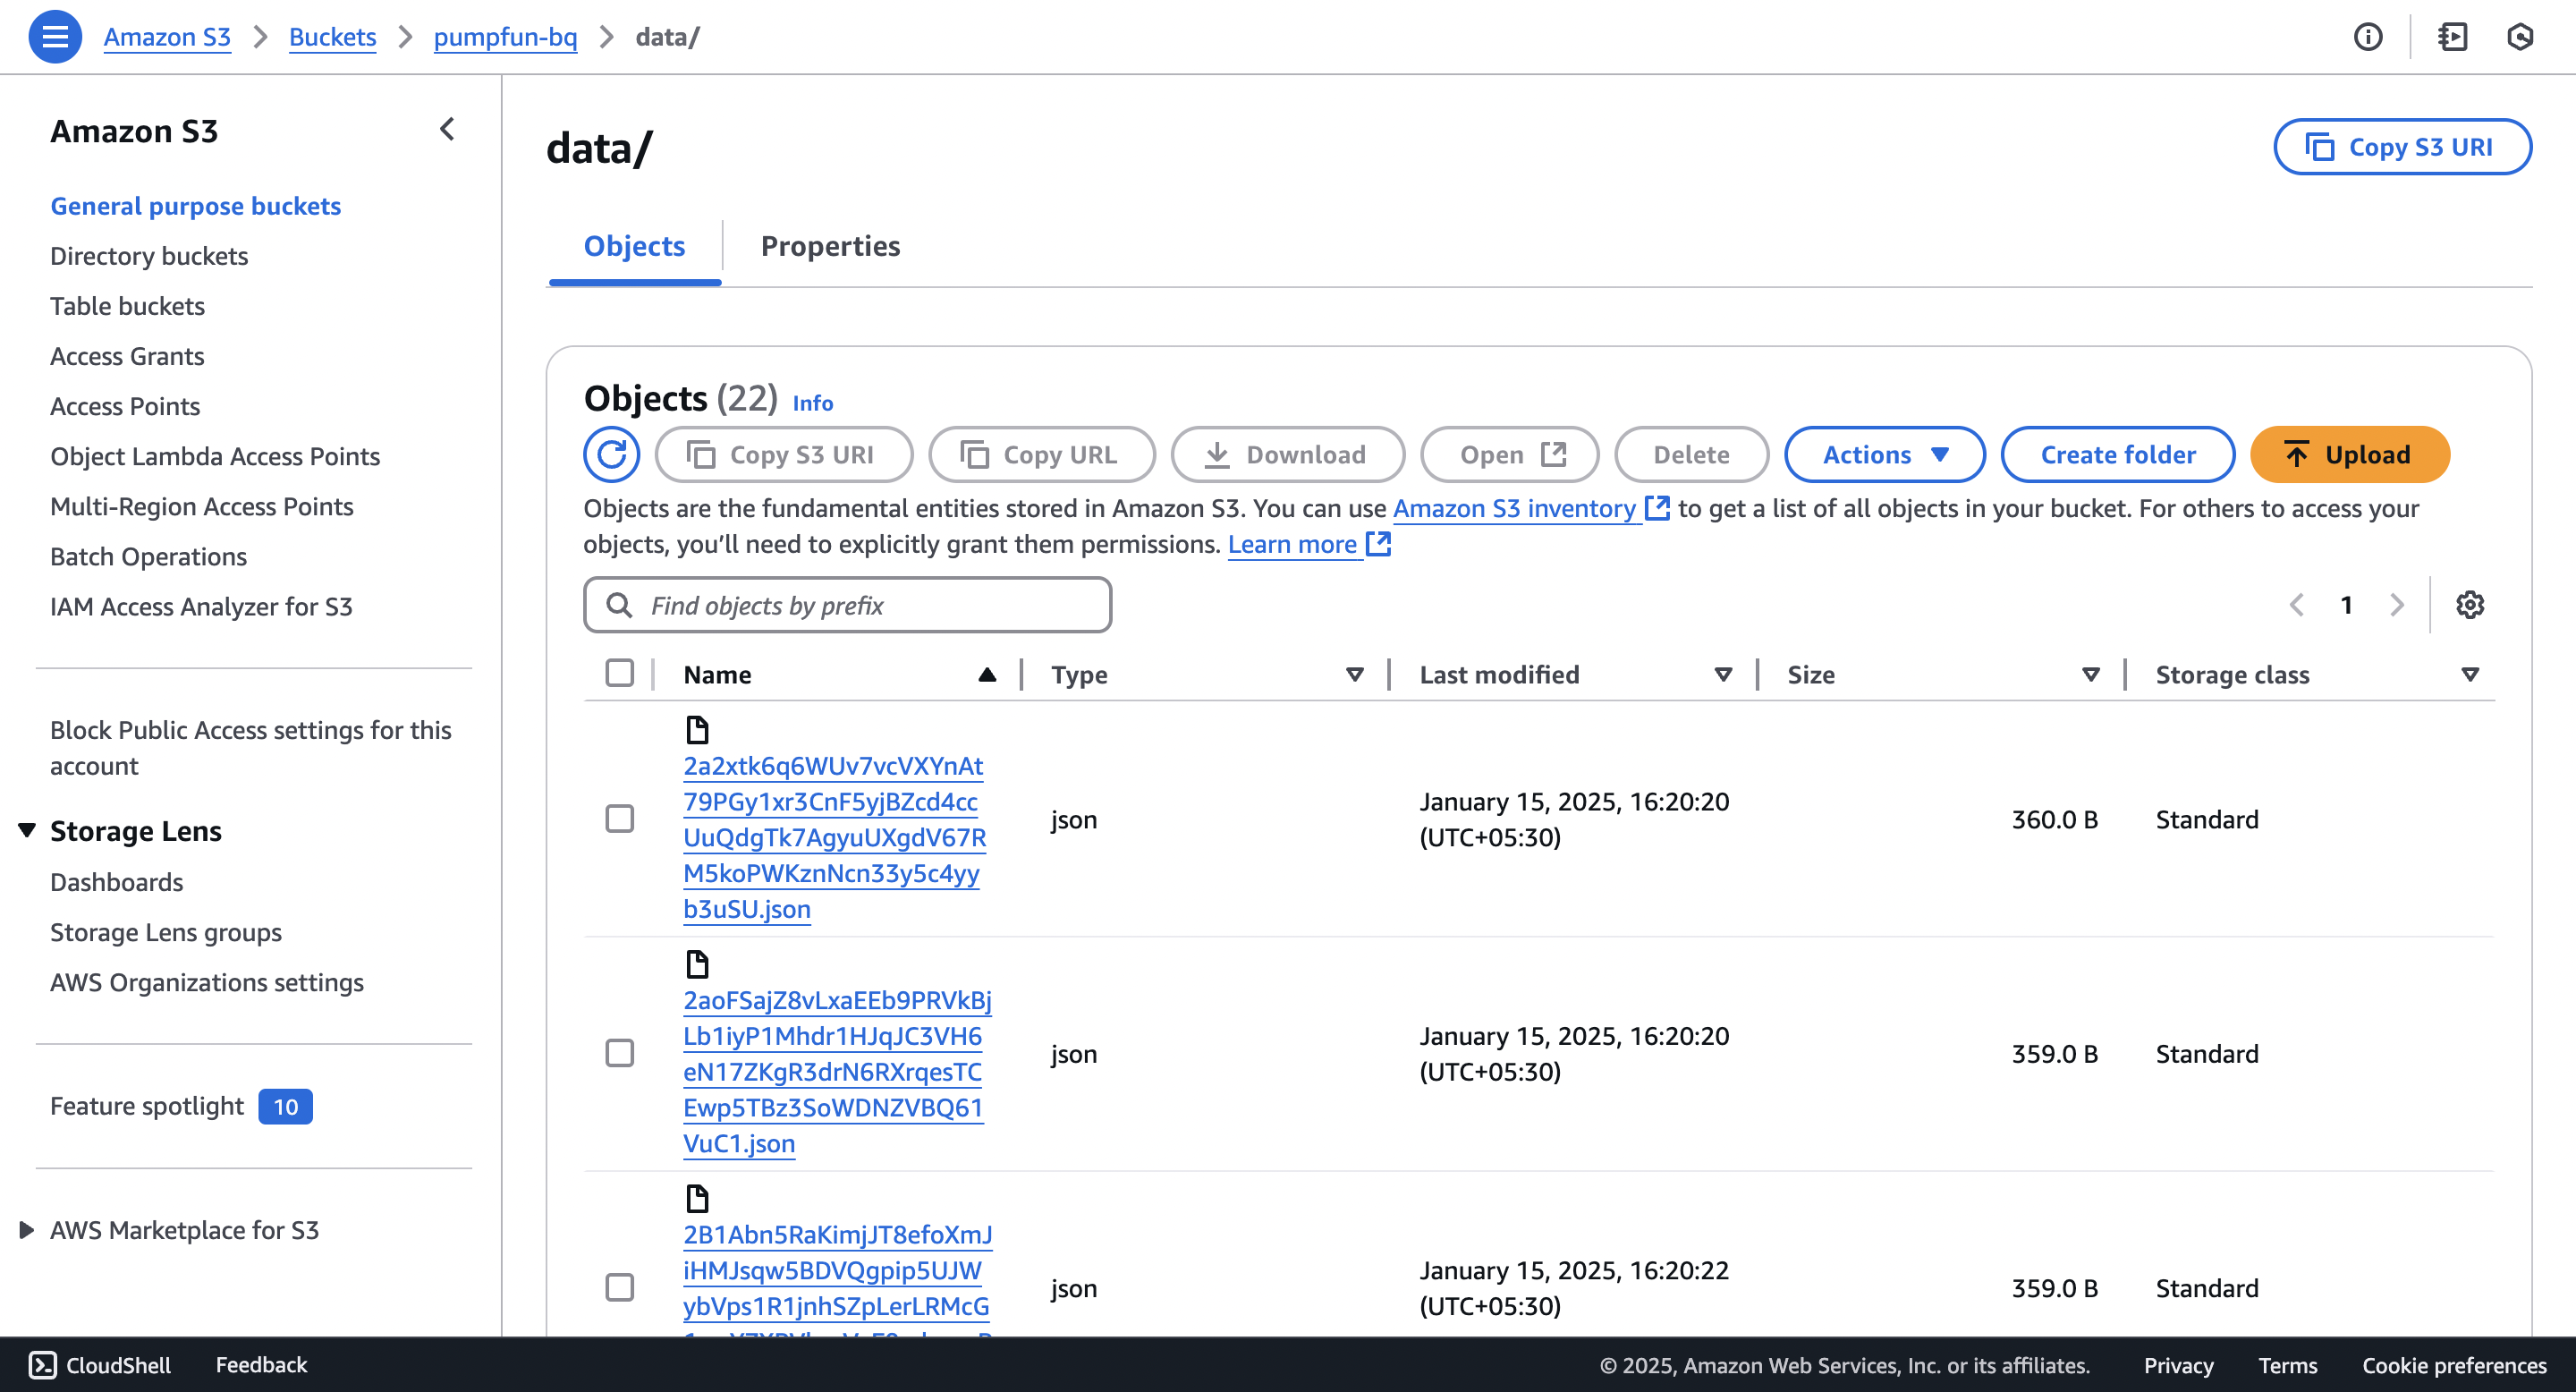
For each message, a JSON file is created with a unique key (transaction_signature) and uploaded to S3.
6. Error Handling
The code includes error handling for the WebSocket and S3 uploads:
try:
    await fetch_and_upload()
except Exception as e:
    print(f"Error occurred: {e}")
This ensures the program continues running even if an error occurs.
7. Running the Script
The asyncio.run(main()) function starts the asynchronous process:
async def main():
    try:
        await fetch_and_upload()
    except Exception as e:
        print(f"Error occurred: {e}")

asyncio.run(main())
Execution Steps
- Replace placeholder values (
your_aws_access_key,your_bitquery_token, etc.) with your credentials. - Save the script as
bitquery_s3_upload.py. - Run the script:
python bitquery_s3_upload.py
- Check your S3 bucket for uploaded JSON files.